
The Events feature allows you to create and manage event information in Scale to Win Text and reuse those details across your campaign messaging.
Instead of manually entering the same event information in multiple initial messages and response scripts, you can create an Event, connect it to a campaign, and insert Event fields into your messaging.
An Event can include:
- Basic event details, such as the name, type, date, and time
- Location and/or virtual join information
- An RSVP link
- One or more shifts
- Event and shift fields that can be used in campaign messaging
Event details can be reused across multiple campaigns and updated from the Events page.
Note: Events can be created and managed by Admins and Org Owners.
Create an Event
To create a new Event:
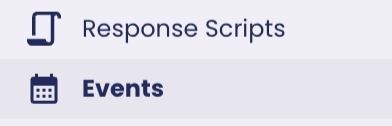
- Navigate to the Events page using the left navigation menu.
- Click the + New Event button on the top right of the page.
- Complete the required Event fields:
- Event Name
- In Person or Virtual
- Event Type (Note: You can select an existing type or enter and add a new one.)
- Start Date
- Start Time
- Timezone
Note: The Timezone field defaults to the subaccount’s configured timezone. If the subaccount does not have a timezone set, it defaults to the timezone on your device. You can select a different timezone before creating the Event.
- Add any optional Event details:
- Event Internal Name
- Event Language
- End Date (Note: If you add an End Date, you will also need to add an End Time.)
- End Time
- Description
- RSVP Link
- Location
- Join Link
- Click Create Event.
Add Shifts to an Event
You can add shifts when an Event has multiple dates, times, locations, or participation options.
To add a shift while creating an Event:
- Click + Add Shifts at the bottom of the New Event window.
- Enter the shift’s required information:
- In Person or Virtual
- Start Date
- Start Time
- Timezone
- Add any optional shift information:
- End Date
- End Time
- Location
- Join Link
- Click + Add Shifts again to add another shift.
- When you have finished adding Event details and shifts, click Create Event.
Shifts are numbered based on their order within the Event, such as Shift 1, Shift 2, and Shift 3.
Note: Shift dates must fall within the Event’s date range. If an Event does not have an End Date, it is treated as ending at the end of its Start Date, and all shifts must occur on that date.
View and Find Events
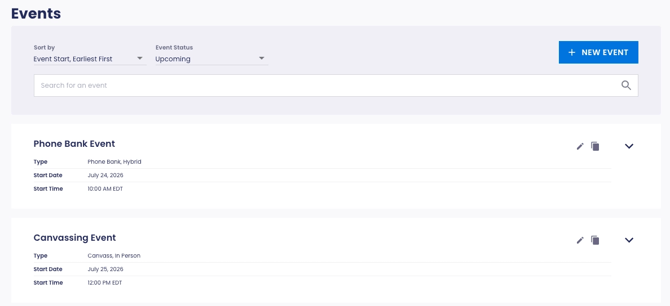
The Events page shows the Events that have been created for your organization.
From this page, you can:
- Search for an Event by name
- Filter Events by status
- Sort Events
- Expand an Event to view additional details
- Edit an Event
- Copy an Event
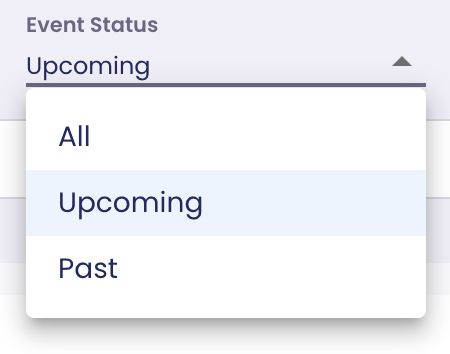
Filter Events by Status
Use the Event Status menu to view:
- All
- Upcoming
- Past
By default, the Events page displays upcoming Events.
Sort Events
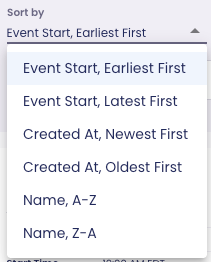
Use the Sort by menu to organize Events by:
- Event Start, Earliest First
- Event Start, Latest First
- Created At, Newest First
- Created At, Oldest First
- Name, A-Z
- Name, Z-A
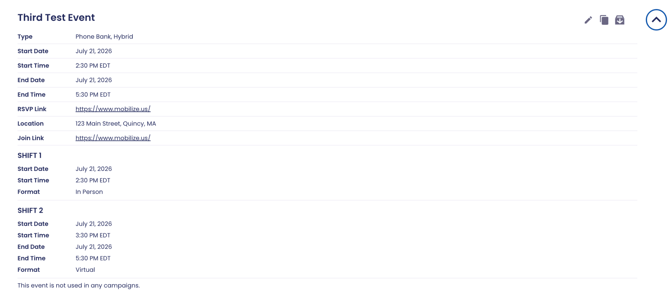
Click the arrow on the right side of an Event to expand it.
The expanded view includes all available event and shift details
Edit an Event
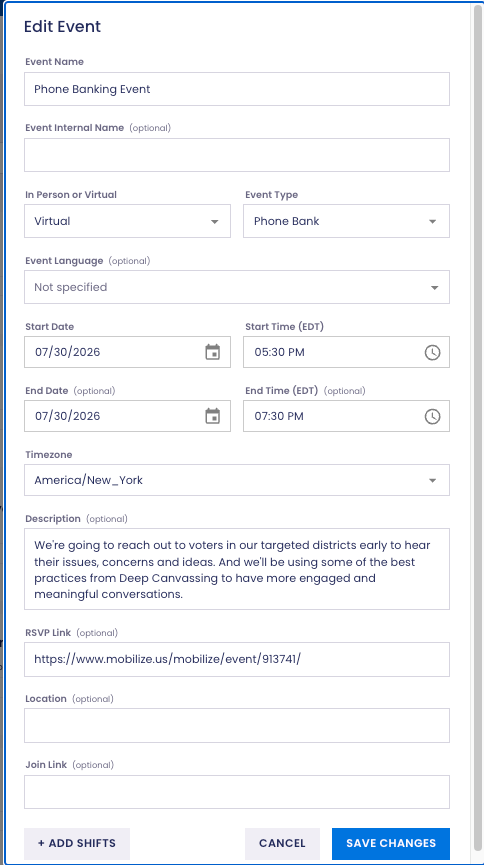
To edit an Event:
- Navigate to the Events page.
- Find the Event you want to update.
- Click the pencil icon on the right side of the Event.
- Update the Event details or shifts. (Note: Shifts can be edited, but they cannot be removed from an Event.)
- Click Save Changes.
Event fields used in campaign messaging pull information from the Event connected to the campaign. This means that future messages and response scripts can use the updated Event details without requiring you to manually update each reference.
Note: Initial messages that have already been sent will not change.
Copy an Event
Copying an Event can save time when you need to create a new Event with details similar to an existing one.
To copy an Event:
- Navigate to the Events page.
- Find the Event you want to copy.
- Click the copy icon on the right side of the Event.
- A new Event titled Copy of [Event Name] will appear on the Events page.
- Click the pencil icon on the copied Event.
- Review and update the Event details.
- Click Save Changes.
The copied Event is created as a separate Event. Changes made to the copy will not affect the original Event.
Campaign
You can connect an Event to a campaign from the Basics step of campaign creation.
To connect an Event:
- Create a new campaign or open an existing campaign.
- Navigate to the Basics page.
- Find the Events section.
- Select an Event from the Event menu.
- Save the campaign or continue to the next step.
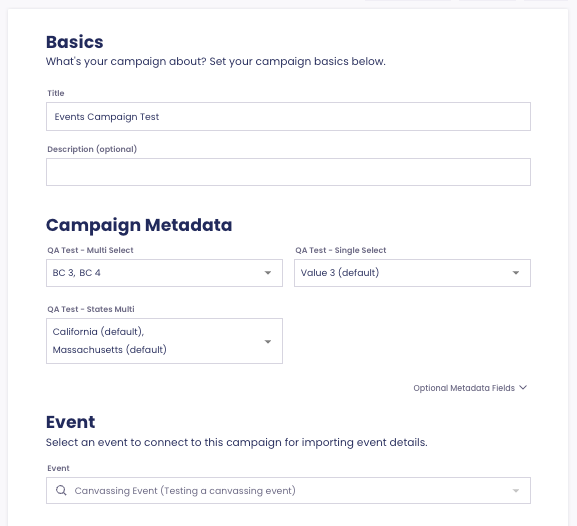
After an Event is connected, its Event and shift fields become available for use in campaign messaging.
Note: Each campaign can have one connected Event. You can change or remove the connected Event until the campaign has been sent. After the campaign has been sent, the connected Event cannot be changed or removed.
After an Event is connected, you can use its Event and shift fields in:
- Initial messages
- Campaign-specific response scripts
- Response scripts imported from your organization’s global response scripts
A single Event can be connected to multiple campaigns, but each campaign can have only one connected Event.
When selecting an Event, confirm that you are choosing the correct Event for the campaign, especially if your organization has Events with similar names or dates.
Use Event Fields in Initial Messages
Once an Event is connected to a campaign, Event fields become available for use in campaign messaging.
To add an Event field:
- Connect an Event to the campaign from the Basics page.
- Navigate to the Initial Message step.
- Place your cursor where you want the Event information to appear.
- Select the Event or shift field you want to insert.
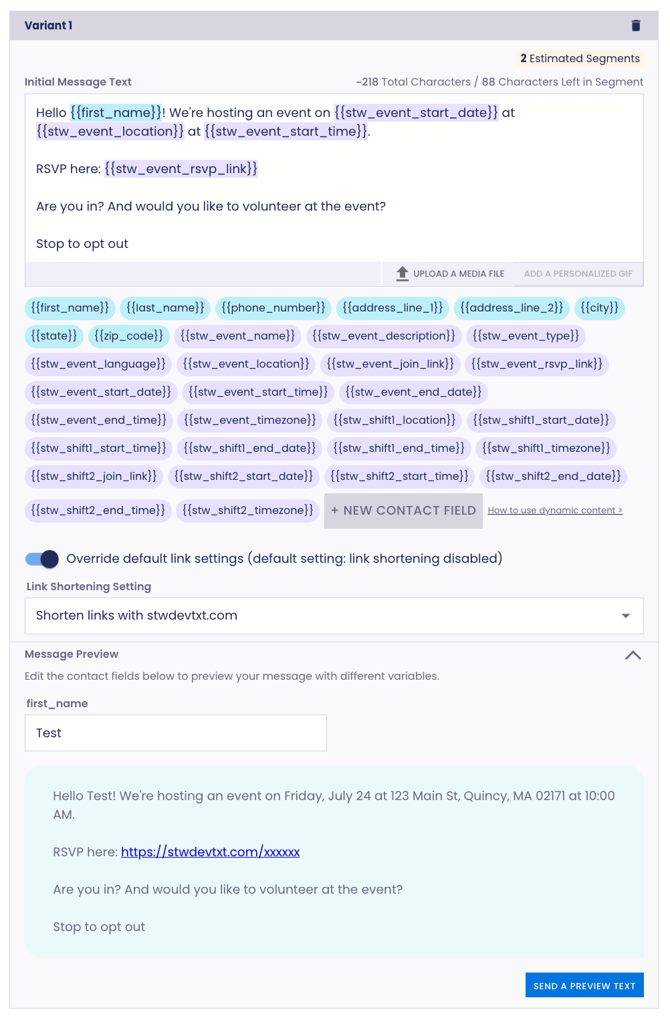
If the Event includes shifts, fields for Shift 1 and Shift 2 will be available in the editor. To reference additional shifts, manually update the shift number in the field, such as changing shift2 to shift3.
Event fields resolve using the Event connected to the campaign.
For example, an initial message can include fields for the Event date and location. When the message is sent, Scale to Win Text will populate those fields using information from the Event connected to the campaign.
Note: Preview your messaging before starting the campaign to confirm that Event and shift fields appear as expected.
Event and shift fields can also be added to response scripts.
To add an Event field to a response script:
- Connect an Event to the campaign.
- Navigate to the Response Scripts step.
- Create a new response script or edit an existing response script.
- Place your cursor where you want the Event information to appear.
- Select the Event or shift field you want to insert.
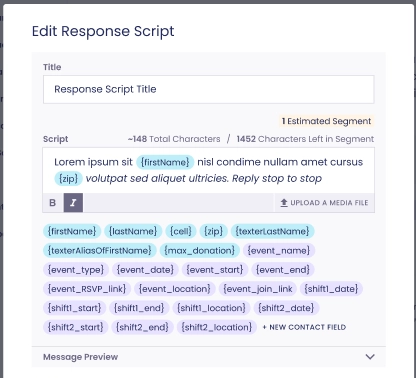
When a texter uses the response script, the fields will display information from the Event connected to that campaign.
You can also include Event and shift fields in imported response scripts.
Field Validation in Messaging
Scale to Win Text checks Event and shift fields to make sure the connected Event contains the information needed by your messaging.
You will see an error if an initial message or response script includes:
- An Event field that does not have a value
A shift field for a shift that does not exist - A shift field that does not have a value
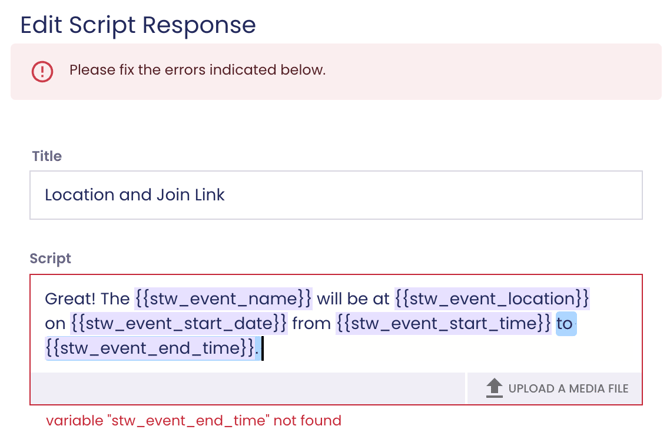
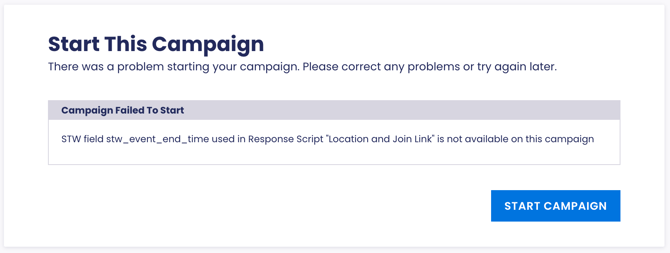
In the text editor, the error identifies the missing field and you won’t be able to save. When starting a campaign, the error identifies the affected response script and the missing field.
To resolve the error, either:
- Add the missing Event or shift information to the connected Event, or
- Remove the field from the initial message or response script
You will need to resolve the missing field before saving or continuing.